01. Budget & Motivation
As mentioned in my previous post, the budget for my wife's new dental clinic ended up exceeding our initial estimates. The reason is simple: since it’s for her, I prioritized quality and reliability over cost cutting—a decision I am perfectly happy with. This article focuses on a critical yet often overlooked component: the Water Purification System.
02. Piping Design: From Main Lines to Terminals
According to the technical blueprints, the main water supply enters through a 3/4" pipe, branching out to three treatment rooms, the sterilization room, the cleaning area, and the restrooms based on their specific flow requirements.

Proactive Adjustment: The purified water line was not part of the original renovation scope. Before construction began, I instructed the foreman to run a dedicated line from the equipment room to the waiting area for drinking water.

When the contractor mentioned they didn't stock the specialized tubing, I chose to purchase it myself to ensure quality. I opted for a 3/8" professional purification hose featuring a three-layer construction:
- Outer Layer: Explosion-proof PVC.
- Middle Layer: High-density polyester fiber mesh for pressure resistance.
- Inner Layer: Food-grade PE to ensure water safety.
03. Key Feature: Seamless Switching Between Pure and Municipal Water

Since dental units typically use 3/4" inlets, I used an adapter to connect the 3/8" purification line. I also integrated a switch valve to allow for dual-source flexibility:
- Dual-Mode: Closing the valve directs RO purified water to the dental chair. Opening it (while closing the purification valve) switches the supply back to municipal water.
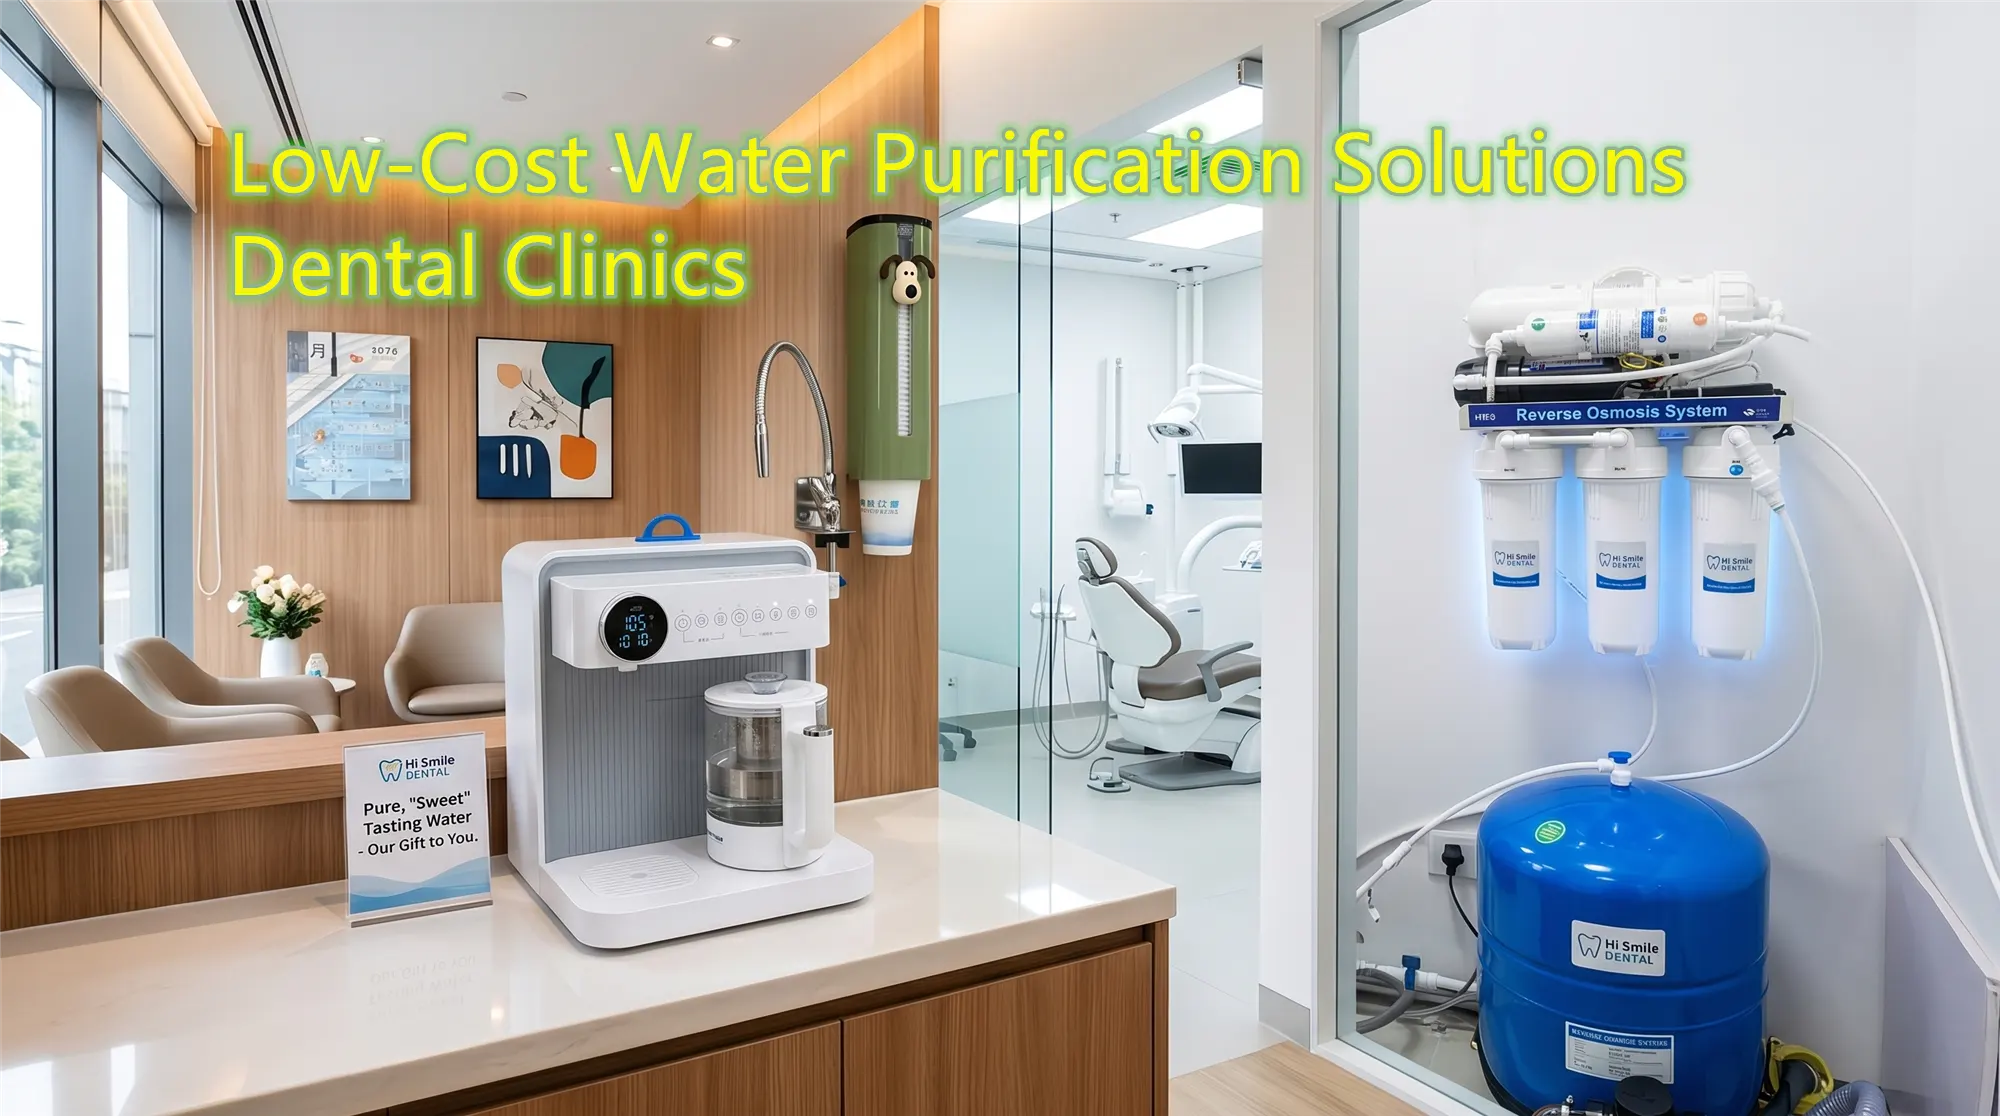
- Why Purified Water? Our local municipal water has a distinct chlorine odor. By using purified water, patients often comment on the "clean, slightly sweet" taste when rinsing, which significantly enhances the patient experience.
04. Pressure Management & Filtration Specs
Dental units require a working pressure between 0.2 and 0.4 MPa. I selected a purification system equipped with a pressure storage tank (pre-charged at approximately 0.1 MPa).

- Pressure Performance: Despite the lower tank pressure, real-world testing shows that while the spittoon flow is slightly slower, the 3-way syringe and handpieces function perfectly. A booster pump can be added later if necessary.
- 5-Stage Filtration System: The system utilizes a Delta booster pump and a 5-stage filter configuration:
- PP Cotton (Sediment)
- UDF (Granular Activated Carbon)
- CTO (Carbon Block)
- 800G RO Membrane (Reverse Osmosis)
- Post-Carbon Filter (Taste refinement)
- Results: The filtered water consistently tests at a TDS (Total Dissolved Solids) level of around 10, meeting professional standards.
Next Topic: How to solve the heat dissipation issue for an air compressor housed inside a cabinet? Stay tuned.